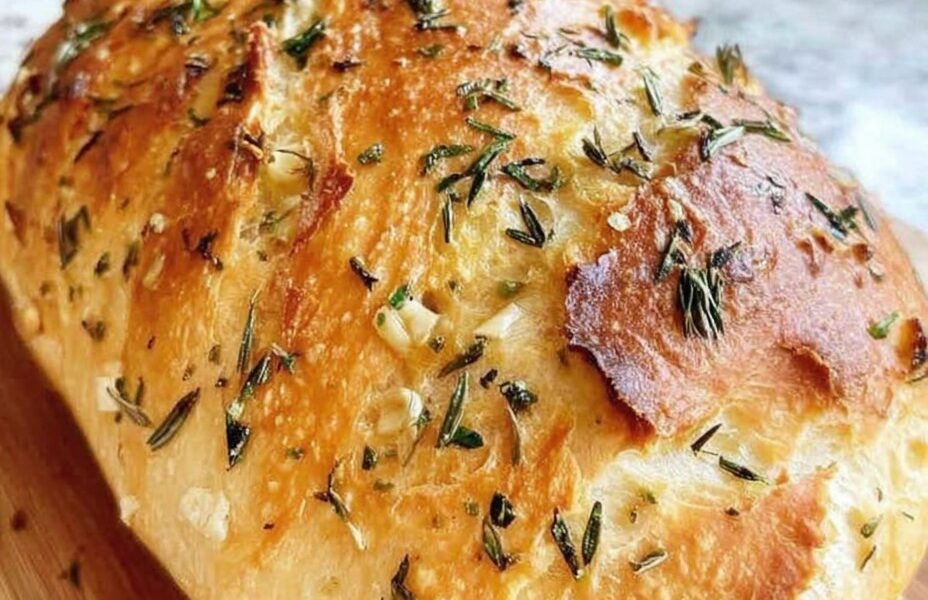
Gluten-Free No-Knead Bread. Many people think that baking gluten-free bread at home is difficult, but this recipe proves that it can actually be very easy. It does not require kneading, eggs, or butter, which makes it perfect for beginners and people with dietary restrictions.
Traditional bread recipes usually require kneading to develop gluten. Gluten is a protein found in wheat that helps create the stretchy structure of bread. However, gluten-free flour does not behave the same way. Because there is no gluten to develop, kneading is not necessary in this recipe.
Instead of kneading, the dough is simply mixed in a bowl, poured into a loaf pan, and allowed to rise before baking. This mix-and-pour method makes the recipe extremely simple and perfect for people who want homemade bread without complicated techniques.
This bread is ideal for many different diets and lifestyles. It works well for:
• People following a gluten-free diet
• People with egg allergies
• People avoiding dairy products
• Vegan diets
• Beginner bakers
• Anyone who wants easy homemade bread
Even though the recipe is simple, the result is a soft, fluffy loaf with a golden crust. The inside of the bread stays tender and slightly airy, making it great for sandwiches, toast, or spreading with butter alternatives and jam.
One of the most important ingredients in gluten-free bread is the gluten-free flour blend. It is best to use an all-purpose gluten-free flour that already contains xanthan gum. Xanthan gum helps provide structure and elasticity, which normally comes from gluten in regular bread.
If your gluten-free flour blend does not include xanthan gum, you can simply add 1 teaspoon of xanthan gum to the recipe. This helps the bread hold together and prevents it from becoming crumbly.
Another key ingredient is active dry yeast. Yeast is responsible for helping the bread rise and creating air bubbles inside the dough. Since this recipe does not use eggs, yeast plays an even more important role in making the bread light and airy.
The warm water activates the yeast and allows it to grow. The water should be warm but not hot. If the water is too hot, it can kill the yeast. If it is too cold, the yeast may not activate properly.
A small amount of sugar or honey is added to feed the yeast. This helps the yeast become active and bubbly, which allows the bread to rise properly.
Instead of butter, this recipe uses olive oil. The oil keeps the bread soft and moist and makes it easier to slice after baking.
Salt is another important ingredient because it improves the overall flavor of the bread. Without salt, gluten-free bread can taste bland.
There are also some optional ingredients that can improve the texture and flavor of the bread.
Chia seeds or flaxseed meal can add moisture and help create a slightly better texture. These ingredients also provide extra nutrients.
A small amount of apple cider vinegar can also be added. The vinegar helps the bread become lighter and slightly softer inside.
One of the best things about this recipe is how easy and forgiving it is. The dough does not need to be perfectly shaped or handled carefully. It simply needs to be mixed, poured into the pan, and baked.
This bread is perfect for sandwiches, toast, or breakfast. It also tastes wonderful toasted with avocado, jam, or nut butter.
Now let’s prepare this simple Gluten-Free No-Knead Bread step by step.
Ingredients
2 cups gluten-free flour blend (with xanthan gum)
1 ½ cups warm water
1 tbsp sugar or honey
2 ¼ tsp active dry yeast
1 tsp salt
2 tbsp olive oil
Optional:
1 tbsp chia or flax meal
1 tbsp apple cider vinegar
Step-by-Step Instructions
1. Activate the Yeast
In a bowl, mix the warm water, sugar, and active dry yeast.
Let the mixture sit for 5–10 minutes.
When the yeast becomes foamy and bubbly, it is ready to use.
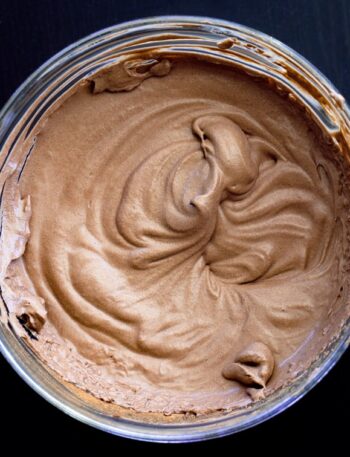
2. Mix the Dough
Add the gluten-free flour, salt, and olive oil to the yeast mixture.
If you are using optional ingredients, add the chia seeds or flax meal and apple cider vinegar.
Stir everything together with a spoon until the mixture becomes thick and sticky.
The dough should look like thick cake batter. There is no kneading required.
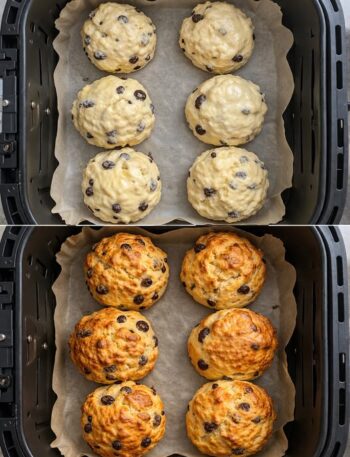
3. First Rise
Grease a loaf pan with oil.
Pour the dough into the pan and smooth the top using a wet spoon or spatula.
Cover the pan with a towel or plastic wrap.
Let the dough rise for 30–45 minutes.
During this time, the dough should rise slightly and become puffy.
4. Bake the Bread
Preheat the oven to 190°C (375°F).
Place the loaf pan in the oven and bake for 40–45 minutes.
The bread is ready when the top is golden brown and the loaf feels firm when gently tapped.
5. Cool Before Slicing
Remove the bread from the oven and let it cool completely.
Gluten-free bread is delicate while hot and needs time to set.
Once fully cooled, slice the bread and enjoy.
Tips & Tricks
• Always use warm, not hot water for activating yeast.
• If the dough looks dry, add 1–2 tablespoons warm water.
• Adding apple cider vinegar can make the bread lighter.
• Let the bread cool completely before slicing.
• Refrigerating the loaf for 20 minutes can make slicing easier.
• If the top browns too quickly, cover it loosely with foil.
• Toast slices for extra flavor and texture.
Notes
• This bread is perfect for toast and sandwiches.
• Store bread in an airtight container for up to 3 days.
• For longer storage, slice and freeze the bread.
• Frozen slices can be toasted directly from the freezer.
Gluten-Free No-Knead Bread
Description
A soft and fluffy gluten-free bread made without kneading, eggs, or butter. Perfect for vegan diets and allergy-friendly baking with a simple mix-and-pour dough.
Duration
Prep Time: 10 minutes
Rise Time: 30–45 minutes
Cook Time: 40–45 minutes
Total Time: 1 hour 20 minutes
Ingredients
2 cups gluten-free flour blend (with xanthan gum)
1 ½ cups warm water
1 tbsp sugar or honey
2 ¼ tsp active dry yeast
1 tsp salt
2 tbsp olive oil
Optional:
1 tbsp chia or flax meal
1 tbsp apple cider vinegar
Instructions
- Mix warm water, sugar, and yeast. Let sit for 5–10 minutes until foamy.
- Add flour, salt, olive oil, and optional ingredients.
- Stir until the batter becomes thick and sticky (no kneading needed).
- Pour into a greased loaf pan and smooth the top.
- Let rise for 30–45 minutes.
- Bake at 190°C (375°F) for 40–45 minutes.
- Cool completely before slicing.
Tips & Tricks
• Add extra water if the dough feels too thick.
• Add apple cider vinegar for a lighter texture.
• Slice the bread only after it is completely cooled.